Photo by Amitava Sarkar.
Aloha! Nancy Wozny, our Somatics specialist on the 4dancers Dance Wellness Panel recently gave us Part I of “Flash Feldenkrais for the Busy Dancer” – here is Part II. This one is focused on what to do after a trauma, like a fall, or a disorienting movement experience (like a hectic, packed rehearsal day!). Thanks again to Nancy, and Happy Holidays to All! – Jan Dunn, Dance Wellness Editor
by Nancy Wozny
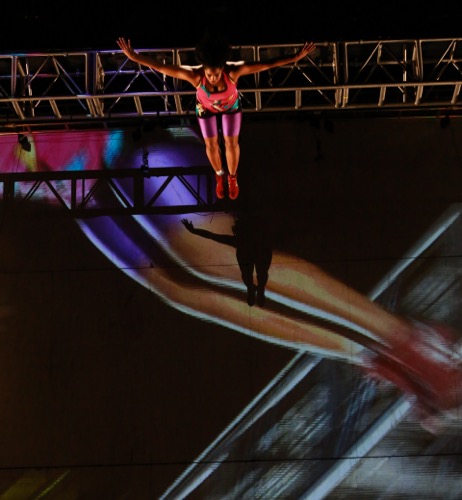
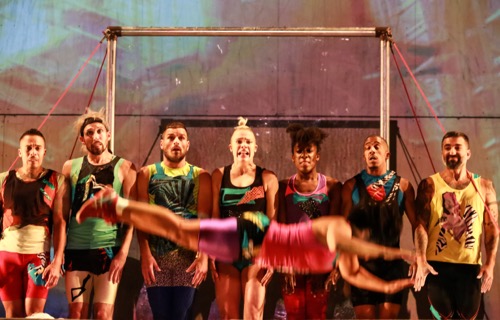
I scampered to the edge of my seat to watch Cassandre Joseph fall from a great height as part of the kinetic pyrotechnics of STREB FORCES. She falls (or flies) and crash lands unharmed, as all of the STREB’s super action heroes do during their recent show at Miller Outdoor Theatre in Houston. Part of Elizabeth Streb’s brilliance is her meticulous methodology of falling, flying and crash landing in a way that we feel the visceral excitement of the motion.
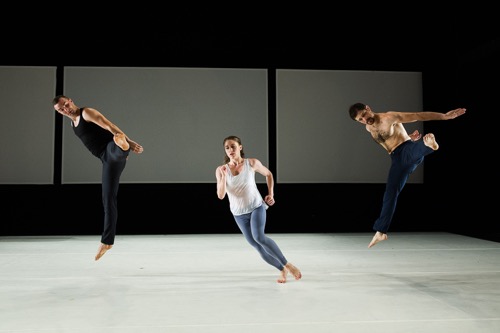
Falling, jumping, unusual landings and the like, are all part of the contemporary dance landscape now, as dancers need to be fluid movers on the ground and in the air. Even partnering has evolved to include fabulous eye candy lifts and maneuvers. But there are times when dancers take a tumble when it wasn’t in the choreography. Most often, you stand up without any apparent injury, just feeling little stunned. Whether one sustains injury or not, unintentional forces have entered our systems, and we may feel discombobulated for a while. We’ve taken a blow, and that has an impact whether or not there are any visible scars.
All of this leads us to the continuation of my Flash Feldenkrais for the Busy Dancer. During Part I, we focused on coming back to neutral in the joints. This next lesson addresses how we organize ourselves for action, and is especially aimed to help us regain a neutral organization after a tumble or trauma. Even a minor trip can have somatic repercussions and lead to unnecessary holding patterns. The lesson is also great at just calming us down, and who doesn’t need a little bit of that now and then in the dance biz?

Photo by Amitava Sarkar.
Flash Feldenkrais Lesson #2: Organizing the Spine in Side Lying
When to do this lesson: After any form of trauma or disorientating movement experience.
Why do this lesson: The lesson will help you return to a more neutral organization, calm down, and improve well being, if you feel a bit shaken up from a minor fall or a hectic day of rehearsal. If post injury, check with your doctor first.
What you need to do this lesson: You will need about 20 minutes of uninterrupted time, a soft mat or blanket and a towel to support your head during this lesson.
Remember: Rest between each step and before you fatigue. Do each instruction just a few times. Make the movement as easy as possible.
Rest on your back and notice your contact. Determine your favorite side. You will be lying on that side during the lesson. Turn to the preferred side so that your arms and legs are at a right angle to your torso. Your knees are bent at right angles but your arms will be straight and not bent at the elbows. Your palms rest on top of each other.
Move your top arm forward in the direction of your fingers passed the lower hand and then back to your starting place, remembering to keep the top arm straight. Notice the shape of your back changing and your head rolling toward the floor in front of you. Rest on your side.
Now move your top shoulder backwards in the direction of the floor behind you. Your top hand will glide toward the elbow of your lower arm. Your top shoulder blade moves behind you toward the floor. Turn your head toward the ceiling as you roll backward. Rest on your side.
Combine both movements, so that your top hand is moving forward and back. Feel the movement go through your spine. Your head will also be rolling toward the floor in front of you and toward the ceiling. Rest on your back and notice the contact of the working side.
Return to your preferred side. Move your top knee further forward, so that it passes the lower knee. You should feel the top ribs articulating. It’s a small movement. Make sure to move the knee directly forward in the direction it is already pointing. Think of your knee as a headlight so keep the light going the same direction as you glide the knee forward in space. Rest.
Now move the knee backwards so that the top hip moves toward the floor behind you. Put both of these movements together so that the knee moves forward and backward in space. Rest on your back. Notice how the contact of the working side.
Return to your side. Move the hand and hip forward and backward. Notice the movement of your head. Make the movement as fluid as possible. Rest on your back and notice the difference between your sides.
Repeat the entire lesson on the other side.
Rest on your back and notice your contact. Come to standing and notice your posture.
Remember you can do these lessons any time, whether you’ve taken a tumble or just want to come back to a calm place. Enjoy the lesson and stay tuned for Flash Feldenkrais Part III.

Nancy Wozny is editor in chief of Arts + Culture Texas, reviews editor at Dance Source Houston and a contributor to Pointe Magazine, Dance Teacher and Dance Magazine, where she is also an contributing editor. She has taught and written about Feldenkrais and somatics in dance for two decades.


